
Removing a stairlift – first things first. We always recommend you remove a stairlift professionally as there’s a danger when removing a stairlift both to yourself and the stairlift itself. So if you want to sell the stairlift, get it done professionally. A stairlift becomes worthless very quickly if parts are damaged during the removal process.
Tools Needed:
- Rubber mallet
- Hammer
- Phillips and flat head screwdrivers
- Set of allen keys
- Powered drill/screwdriver
- 13mm spanner
- Side cutters (wire cutters)
- Pin punch
Order Of Removal
- Unplug from mains – (stairlift runs from battery)
- Remove stairlift from top of the rail
- Unscrew rail from top (a section at a time)
- Part each rail section, unscrewing the legs one section at a time
Removing A Stairlift
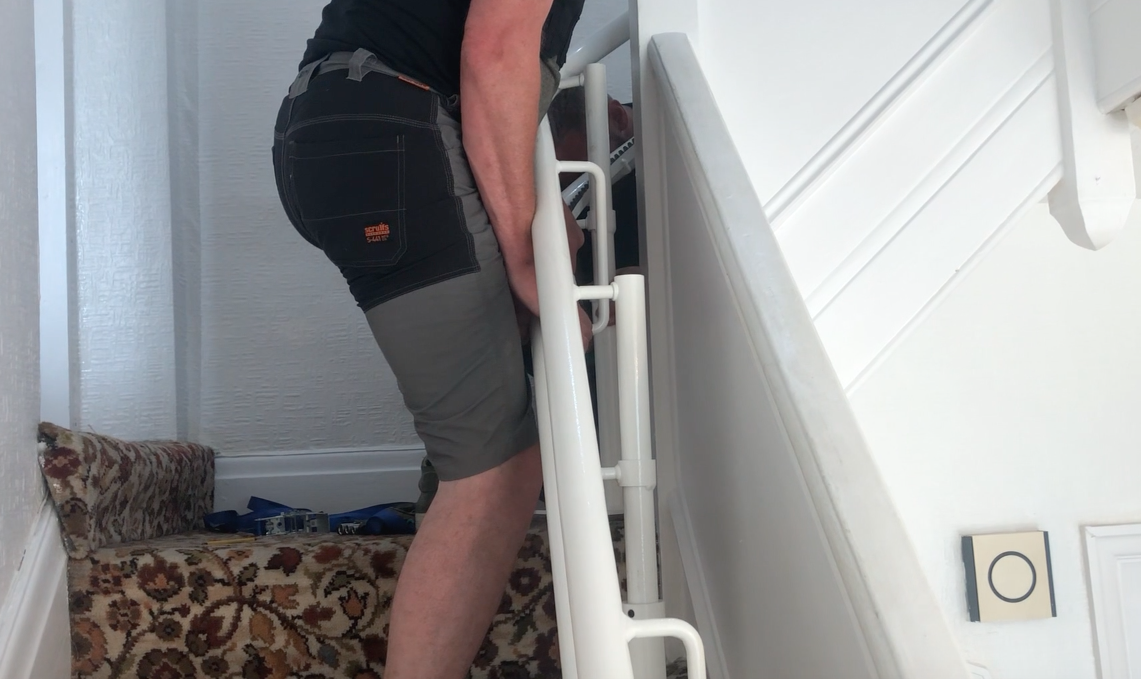
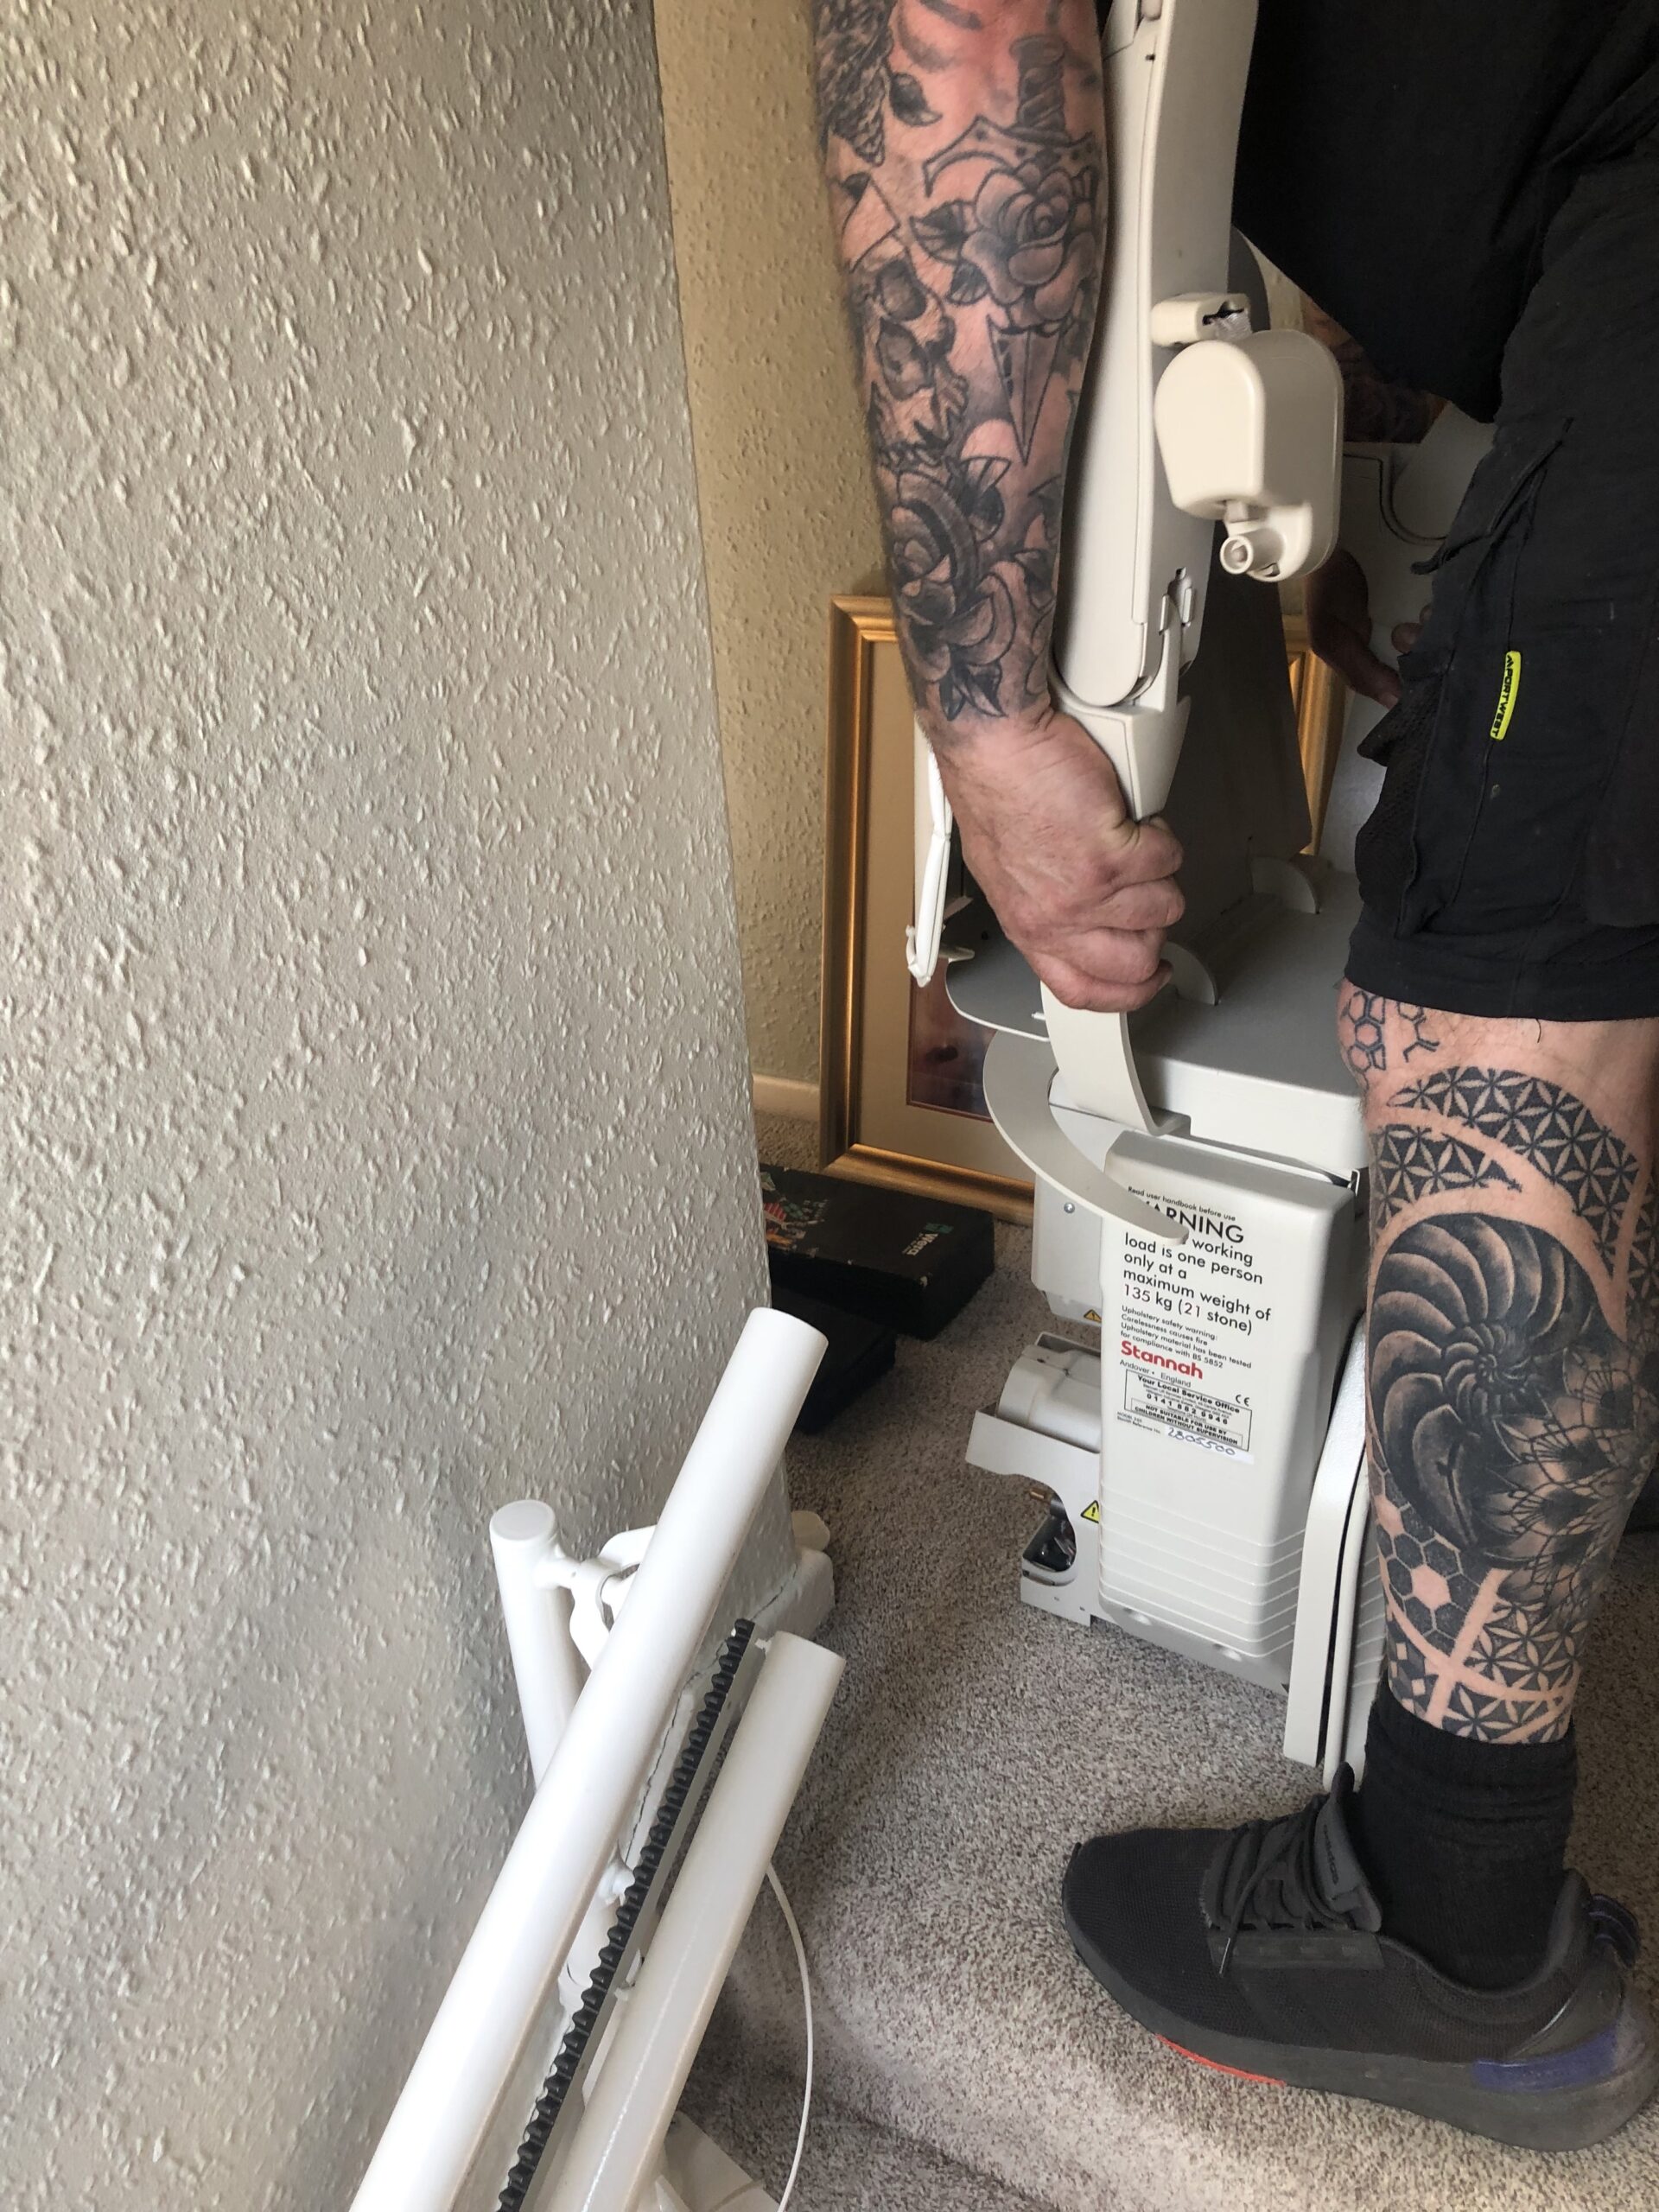
If you’re thinking of removing a stairlift, and want to do it yourself, here’s a few tips to do it safely. We do recommend a professional do it, but if you’re particularly handy at DIY, you can do it yourself, particularly if you’re only disposing of it, and don’t intend to sell it. Keep in mind that the stairlift is a heavy piece of kit. So you’ll need a hand to remove the chair from the rail. It’s definitely recommended having two people do this as the chair unit is heavy and awkward, too.
But before you can do this, you should know the stairlift chair must be removed from the top of the rail.
You shouldn’t attempt to remove from the base of the rail, since the floor will prevent you from doing so. It can also be dangerous trying to remove the stairlift from the rail mid-stair because of the uneven ground and potential for accident. After all, the stairlift is heavy and cumbersome, and it’s dangerous trying to remove it on the stairs.
Another reason we suggest you get a professional to do it. Call us on 0800 046 3438.
Removing A Stairlift – The Battery
The battery is therefore often the first problem you’ll likely encounter. To remove the stairlift from the top of the rail, you’ll probably have to operate it first. If the stairlift has been out of use for some time, the battery can go flat. You should always leave the stairlift switched on at the mains, even when not in use. The battery will quickly discharge when unplugged, and can quickly become redundant when not constantly trickle charged from the mains.
So to charge the battery, make sure the stairlift is turned on and plugged into the mains. The chair should be sitting on a charge point, so it can charge correctly. If the stairlift hasn’t been used in a while, the battery might be flat. If the battery is flat, give it time to charge. This can take several hours to properly charge a stairlift battery, but if it’s been left unplugged, the battery may have completely discharged. This means it won’t re-charge and you’ll need to replace it.
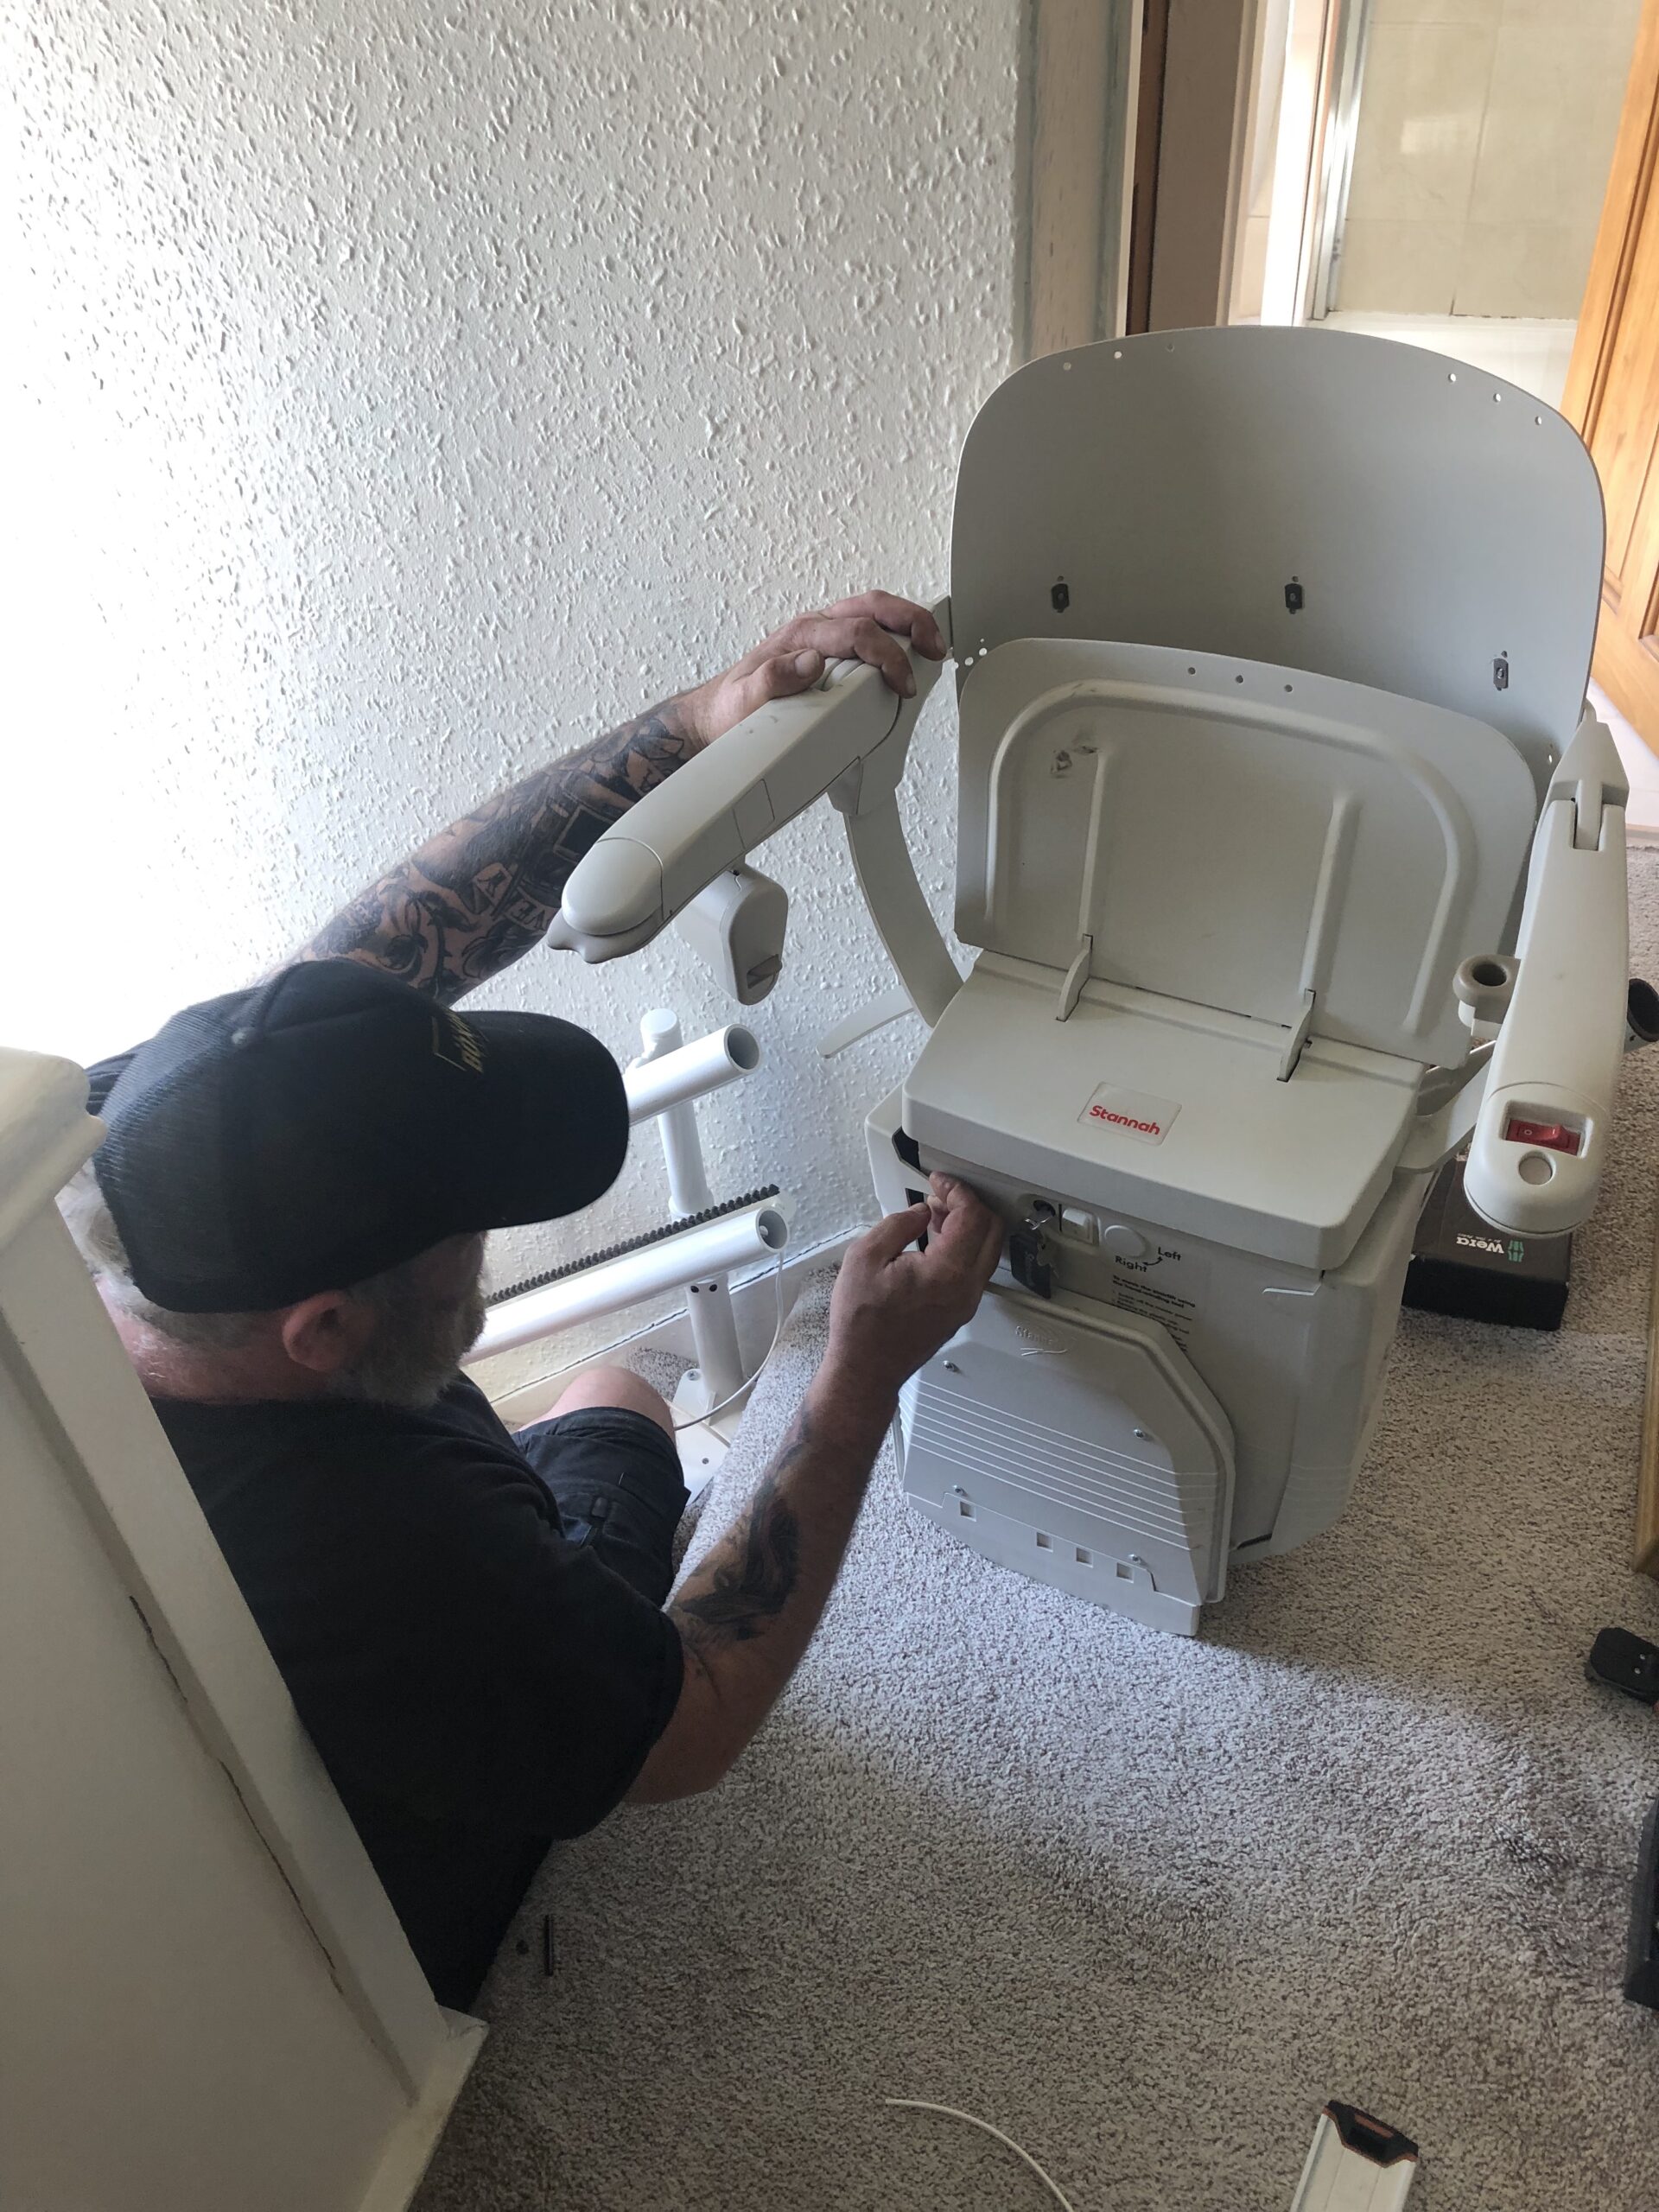
Each stairlift model will be different but the battery is housed in the stairlift chair base. Remove the front cover to remove batteries, taking care to disconnect from the mains first. You will usually find two 12 volt batteries which can be removed and replaced. This will allow you to operate the stairlift if the batteries were flat.
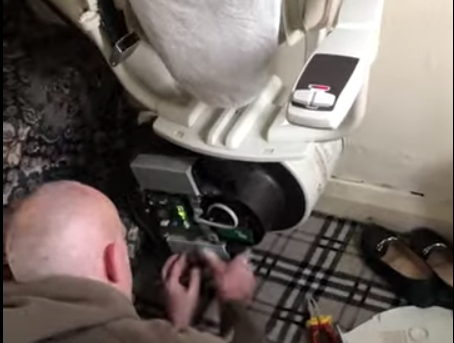
Here’s a battery switch over before one of our engineers removed and replaced an old stairlift. This old stairlift (a Thyssen Flow) was no longer working.
Removing A Stairlift – Unplug from mains and Run the Stairlift To The Top Of The Rail
Before you attempt to remove the stairlift from the rail, make sure you have unplugged the mains connection. You will either have a mains plug that can be switched off and unplugged, or a switched fuse spur (looks like a light switch) with a pop out fuse. The stairlift runs on the 2 X 12volt batteries. So they will power the lift to get it to the top of the rail.
Once you have sorted out the battery, if needed, run the stairlift to the top of the rail. Here you’ll find a safety device to prevent the stairlift from going past this point. So you’ll need to remove it. This is to prevent the chair moving past this point. This can be removed with basic tools.
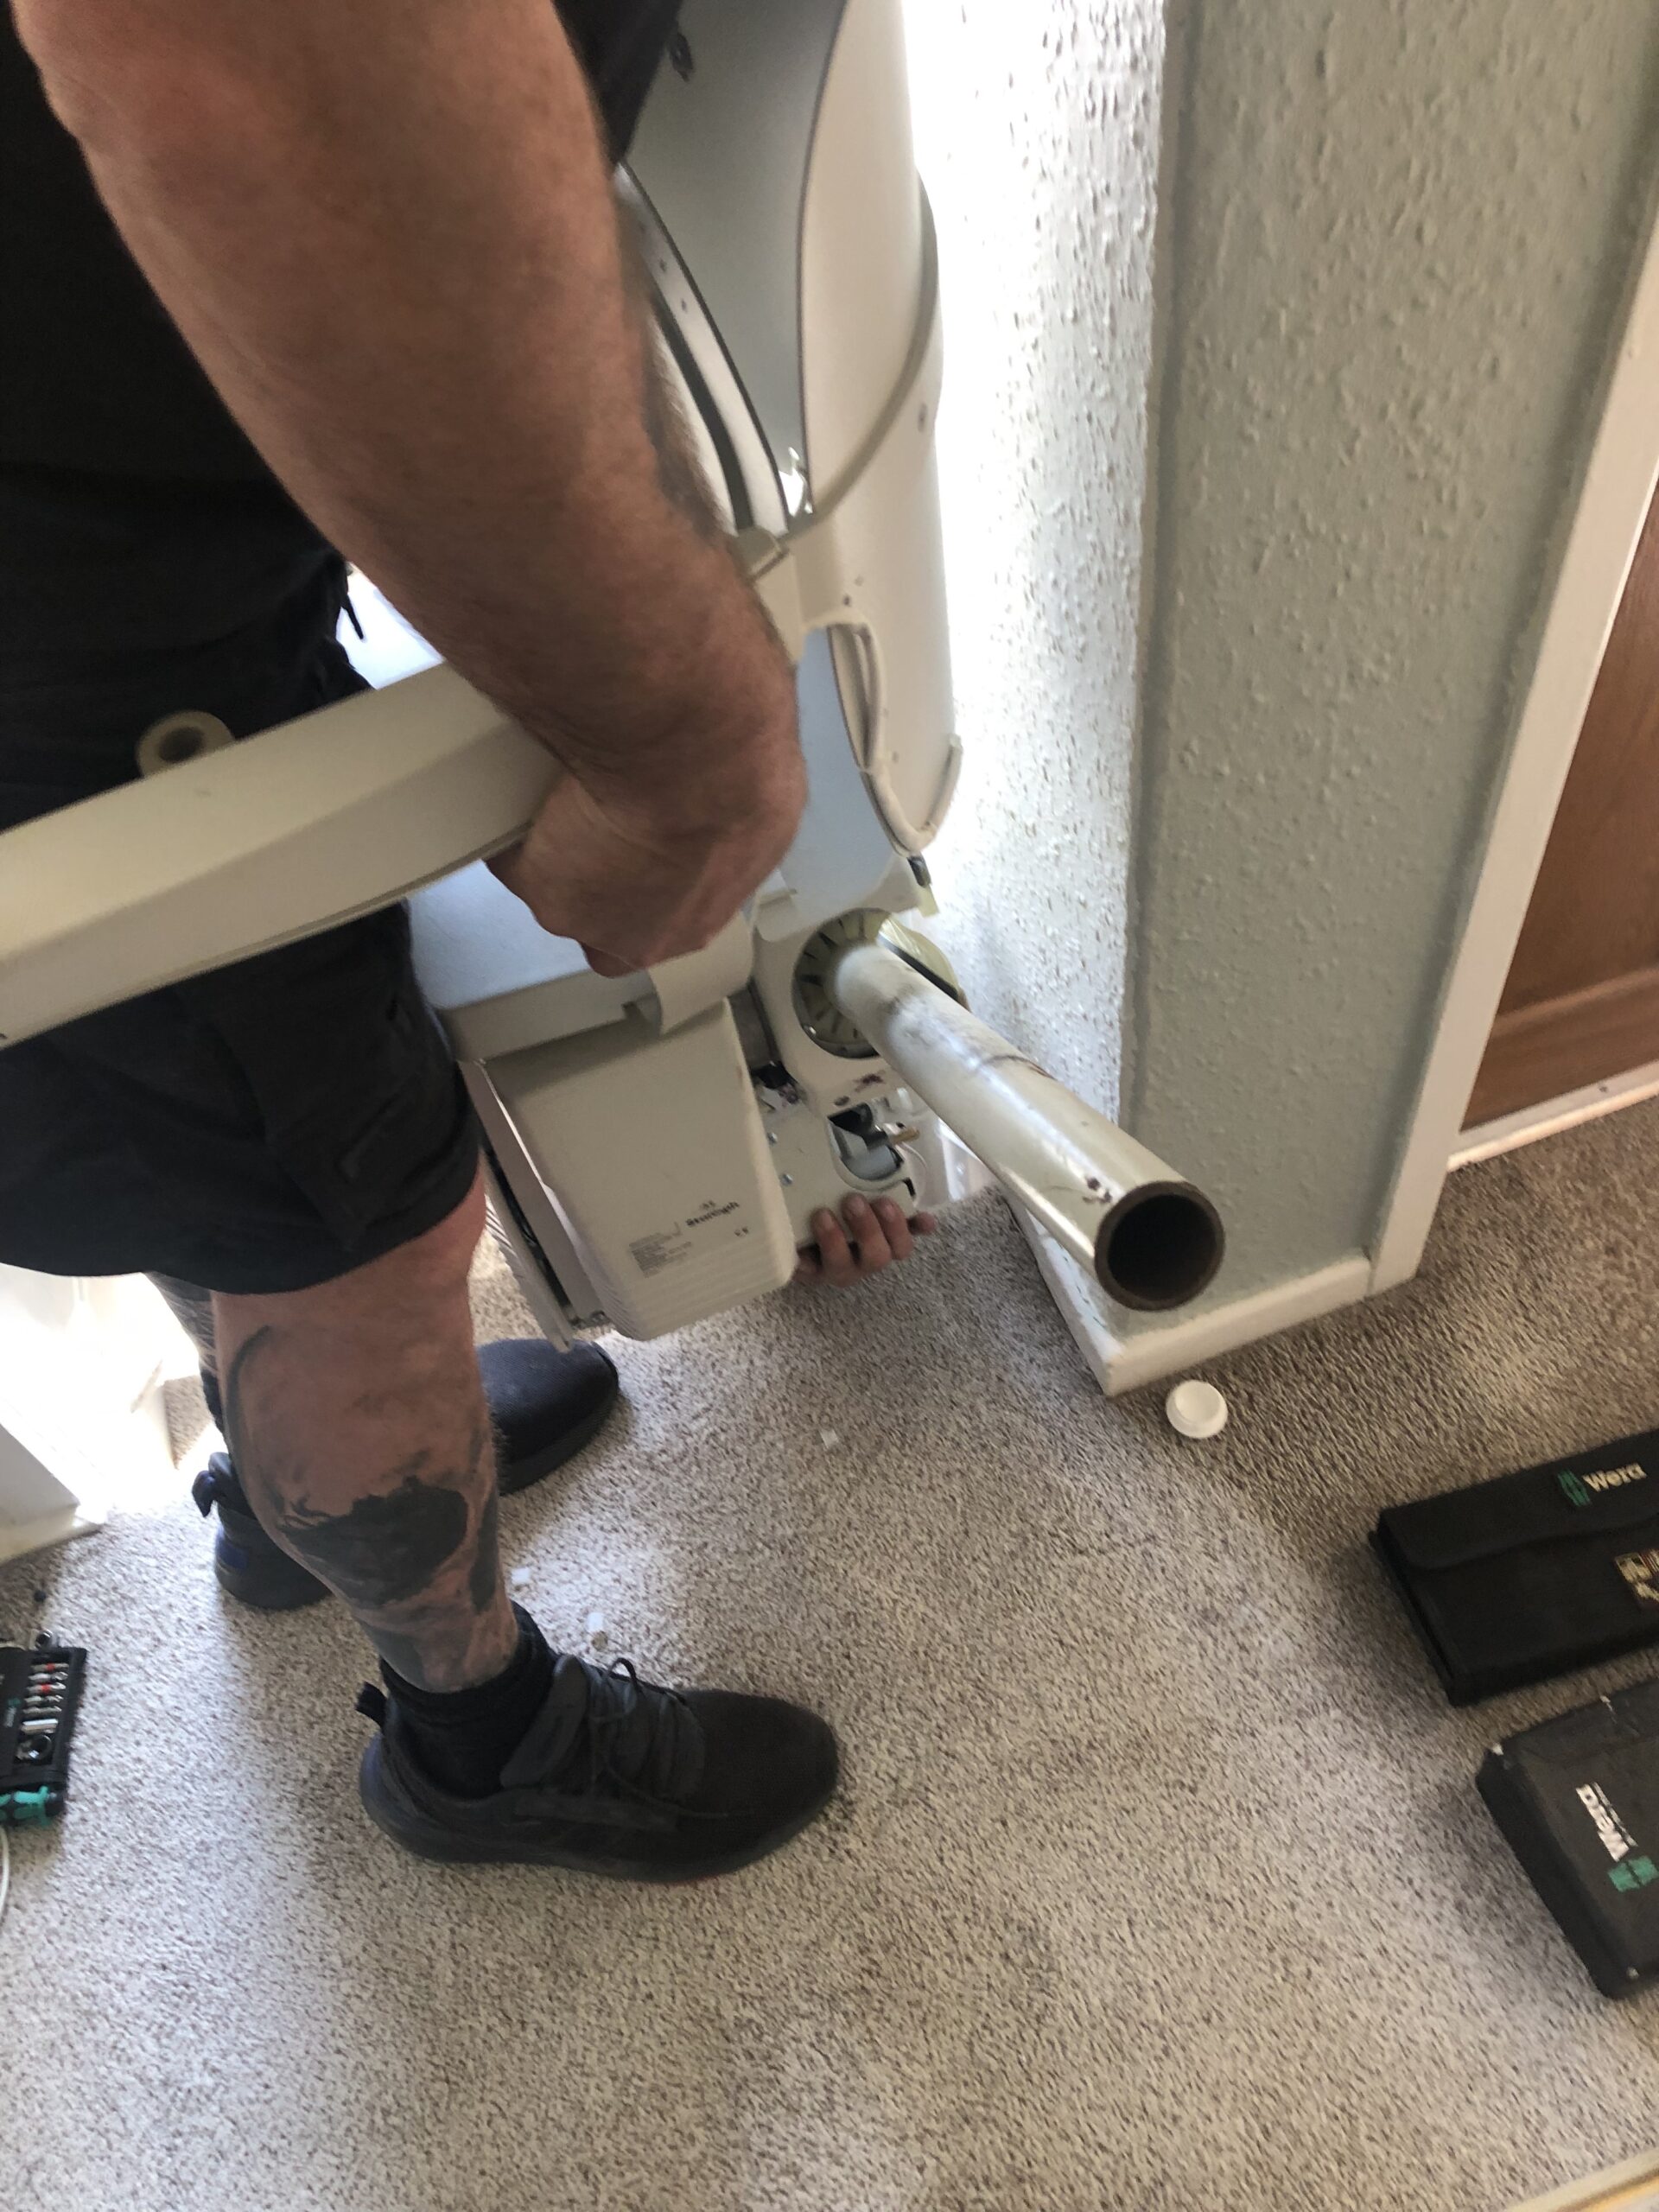
Once you have removed the safety device (on the end of the stairlift rail), you can drive the stairlift to the very end of the rail (at the top).
N.B. with certain models such as a Thyssen stairlift, the program will prevent you from running the stairlift off the rail, even if you remove the safety device.
The stairlift is heavy and having two people is the safest way to avoid any potential problems here. Drive it off the end of the rail – and catch it!
Be aware also that the motor is powerful and can easily run over a finger, if it’s in the way. Once you’ve removed the safety device at the top of the rail, it will keep running, so be careful of the moving parts when removing.
Removing A Stairlift – Electrics.
The stairlift is connected to the mains electricity but runs from two 12 volt batteries housed in the chair base. These are recharged from the mains. Once you have detached the stairlift from the rail, you can switch off the mains electricity and unplug the stairlift.
The mains wiring usually will run underneath the carpet and connect into the rail. If you want to preserve the wiring, you can carefully undo the wiring and keep in tact.
This might involve lifting the carpet if you don’t want to damage the wiring. Or, you can simply cut the wiring if you’re only disposing of the stairlift, and don’t intend for its reuse. Make sure you have disconnected from the mains supply before doing this of course!
Removing The Rail – Section By Section
The stairlift rail is connected to the staircase through the rail legs/feet by screws. Unscrew the screws on each leg and carefully remove the rail. The stairlift rail is secured to the staircase treads. The rail is also connected together in sections.
Be aware also of the wire running through the inside of the rail. Make sure you have disconnected the mains power supply before attempting to dismantle the rail.
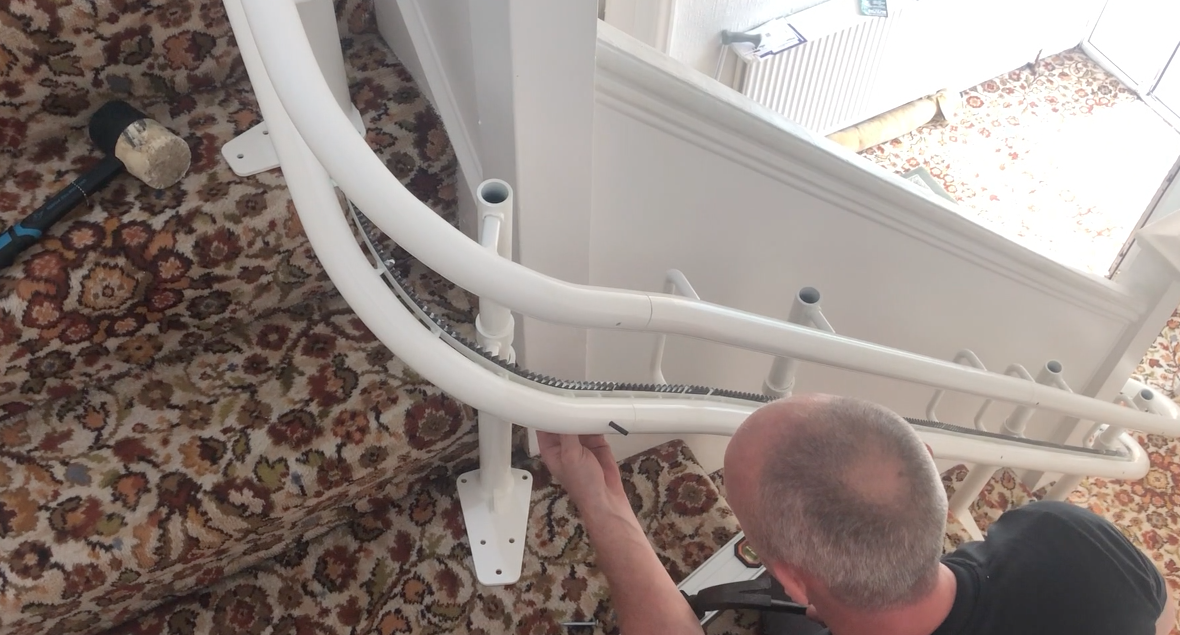
The sections of the rail are tightly fastened together, so it may take some force to part them from each other. For this reason it’s a good idea to start by unscrewing the rail feet from the very top, section by section. Start with the first section of rail and unscrew the feet. Remove the pins which hold the rail sections together (pictured above). You’ll need a pin punch and a hammer to get the pins out.
Once the top pin has been removed, the rail should come apart. Make sure you remove the rail in sections, leaving the lower rail in place, still screwed down to the staircase. This way, you’ll have some resistance to pull against when parting the rail sections. If you unscrew all the rails before doing this, you will find it very difficult to part the rail sections, since there’ll be nothing to pull against.
Summary
So here’s a short version and a quick summary of the process of removing a stairlift:
- Switch off from the mains
- Drive the stairlift up the rail and off the end (having removed safety stopper at the top)
- Unscrew top section of the rail
- Part the top section of the rail
- Repeat for each rail section
Removing a stairlift safely is not an easy task, as you can see. So it’s worth calling the professionals if you’re in any doubt. A stairlift is a vulnerable piece of kit and can easily be damaged. So if you’re looking to sell your stairlift, we always recommend getting someone in to remove it. If you’re simply disposing of your old stairlift, there’s still potential dangers, so be careful to follow our guide closely if you’re doing so.
Call us on 0800 046 3438!
Here’s a video of a stairlift going in, which can help you see the process of removing it:
Watch more videos on this stairlift YouTube channel.